Guide
EV charger install day: what to expect, start to finish
How long a home EV charger install takes in NZ, what the electrician actually does, whether your power goes off, and what you should get at the end.
In short
A straightforward home EV charger install in New Zealand usually takes two to four hours. A Registered Electrician runs a dedicated circuit from your switchboard, fits RCD protection, mounts and commissions the charger, tests it, then issues a Certificate of Compliance. Your power is normally off for part of the job, not all of it.
You have chosen a charger, accepted a quote, and booked a date. Most people have no idea what actually happens next. This is the whole job, in order, so nothing on the day is a surprise.
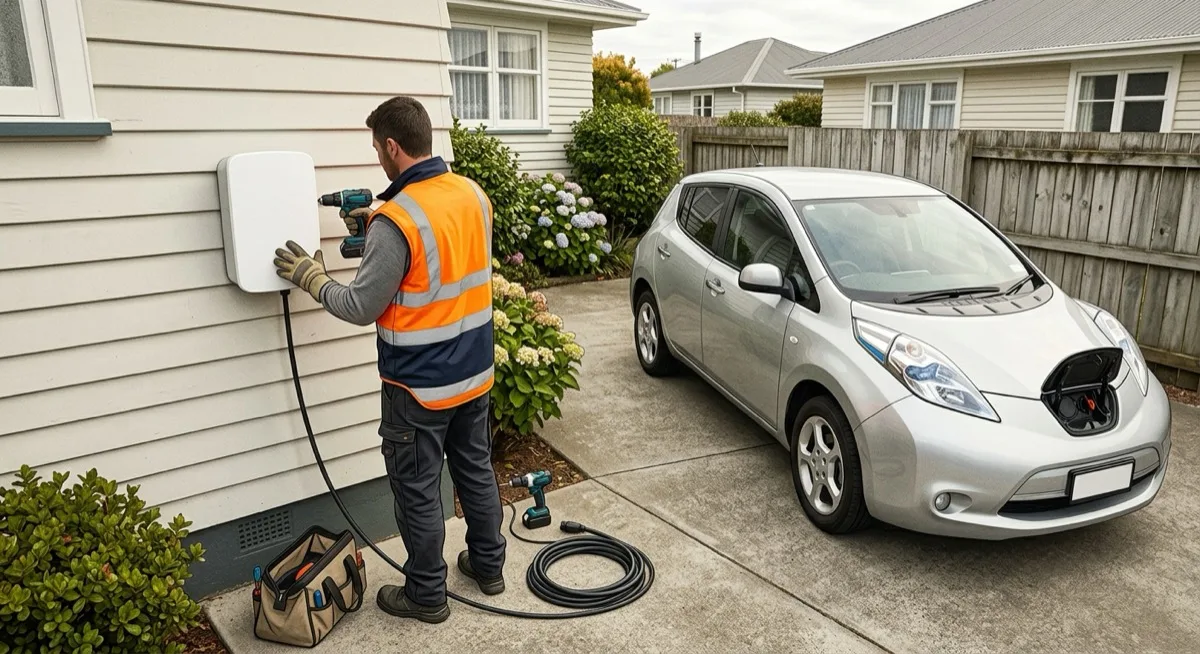
How long does an EV charger installation take?
For a straightforward single-phase wallbox, plan on a half day. Many installs run to two to four hours for one Registered Electrician, but treat that as a planning assumption rather than a promise: the honest answer is that it depends almost entirely on your switchboard and your cable run, which is why installers want to see both before they commit to a time.
Four things reliably stretch it:
- A long cable run. The distance from your switchboard to the charger position is the single biggest variable. A charger on the other side of the garage from the board is quick. One at the far end of a driveway, or on the opposite side of the house, is not.
- A switchboard upgrade. If your board has no spare capacity or is an older rewireable-fuse type, the upgrade itself is a job of its own. Budget a full day, and see do I need a switchboard upgrade? for what triggers one.
- Buried or concealed cable. Trenching under a lawn or driveway, or fishing cable through a wall cavity or ceiling, adds hours that surface-mounted conduit does not.
- Three-phase work. An 11kW or 22kW charger on three-phase supply is more involved than a 7kW single-phase unit, and a new three-phase connection is a much larger project that involves your lines company as well as your electrician.
Before the day: what to have ready
Small things that keep the job to its estimate:
- Clear access to the switchboard. Move the recycling bins, the shoe rack, or whatever else has accumulated in front of it.
- Clear the mounting wall and the parking space. Park the EV elsewhere for the morning so the electrician can work where the car normally sits.
- Decide roughly where you want the charger, and think about the cable reaching your car’s charge port. Note which corner of the car the port is on. Getting this wrong is the most common regret, and it is much cheaper to fix before the drill comes out than after.
- Plan for the power being off. Save open work, shut down anything that does not like an abrupt shutdown, and leave the fridge and freezer closed during the outage.
- Know your Wi-Fi password. Smart chargers need it during commissioning, and hunting for it with the electrician standing there wastes everyone’s time.
Step by step: what the electrician actually does
1. Walk the job with you. The first ten minutes are a conversation, not work. The electrician confirms the exact charger position, agrees the cable route, and points out anything that differs from what was quoted. This is your last easy chance to move the charger, so speak up now if the marked position looks wrong.
2. Open and assess the switchboard. They confirm there is physical space for a new breaker, that the incoming supply can carry the added load, and what protection is already fitted. If your quote was based on a photo, this is where it gets verified.
3. Isolate the supply. Power to the board goes off for the part of the job that touches live work.
4. Run the cable. Surface conduit, wall cavity, ceiling space, or a buried run, depending on what was quoted. This is usually the longest single part of the job.
5. Fit the new circuit and its protection. WorkSafe’s EV Charging Safety Guidelines say a charging station in domestic premises should be supplied from a “dedicated final sub-circuit”, not shared with your general power or lighting, and that RCDs “should be Type B” (WorkSafe EV Charging Safety Guidelines, 2nd ed, verified September 2026). WorkSafe’s consumer guidance puts the same point plainly: “the most appropriate one for Electric Vehicle charging is a Type B RCD”, and “the more common Type A RCD that are found already installed in many houses are not suitable” (WorkSafe, safely charging your electric vehicle at home, verified September 2026).
6. Mount and connect the charger. The unit is fixed to the wall, weatherproofed if it is outdoors, and terminated.
7. Power up, test and commission. The electrician restores supply, tests the circuit, and confirms the charger energises correctly. For a smart charger this also means connecting it to your Wi-Fi, pairing the app, setting the maximum current, and configuring any load management or off-peak schedule.
8. Test charge. A good installer plugs in your actual car and watches it draw power before they pack up. If your EV is not there, they should test with equipment instead. Do not skip this: a charger that energises is not the same as a charger that charges your vehicle.
9. Certify and hand over. The Certificate of Compliance is issued, and you get a walkthrough.
Will my power be off, and for how long?
Expect the switchboard to be isolated for roughly 30 to 60 minutes on a typical job, not for the whole visit. Longer if the board is being upgraded.
Ask when you book, not on the morning. If you work from home, run a home business, have medical equipment on mains power, or share a driveway with neighbours on the same supply, say so up front. It is an easy thing to schedule around and an annoying thing to discover at 9am.
What you should be handed at the end
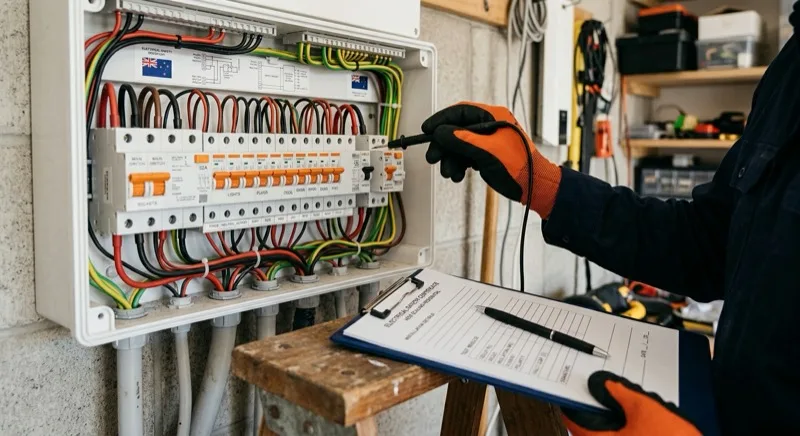
The job is not finished when the charger lights up. It is finished when you have:
- A Certificate of Compliance (CoC). EV charger installation is prescribed electrical work under the Electricity (Safety) Regulations 2010, and the Registered Electrician who did the work must issue a CoC for it. It can arrive by email rather than on paper, but it must arrive, and there is a deadline: the EWRB tells electrical workers “you must issue it within 20 days” (EWRB, what paperwork do I need to complete?, verified September 2026). If three weeks have passed and nothing has arrived, chase it. See the Certificate of Compliance guide for what a valid one contains and what to do if yours never turns up.
- A charger that has been tested, ideally against your own car.
- The app set up, if it is a smart charger, with your account created and the charger claimed to it rather than to the installer’s account. This one catches people out later.
- Manual and warranty paperwork, plus the model and serial number recorded somewhere you will find it in three years.
- A quick walkthrough: how to start and stop a charge, what the status lights mean, how to set an off-peak schedule, and what to do if it trips.
Ask one last question before they drive away: what should I do if this stops working, and who do I call? Establish whether the charger fault path is the installer or the manufacturer, because those are often different people.
When the job does not finish in one visit
It happens, and it is not automatically a sign of a bad installer. The usual causes:
- The switchboard has no spare capacity, or is an older type that has to be replaced before a new circuit can be added.
- The cable route turns out to be harder than it looked, for example a wall that is solid block where it was assumed to be cavity.
- The charger has to be ordered in, or the wrong variant arrived (tethered when you wanted untethered, single-phase when the job needs three).
- The supply itself needs changing, which brings your lines company into it and moves the timeline out by weeks rather than days.
What matters is what happens next. A responsible electrician stops before energising, explains the problem, and gives you a written variation for the extra work before doing it. What you should not accept is a charger left connected and uncertified, or extra work carried out without your agreement. If a variation is proposed on the day, see how to read and compare EV charger quotes for where you stand on price.
After the install
- Tell your insurer. Notify your home and contents insurer that a charger has been installed, and keep the CoC on file. It is the document that shows the work was certified if a claim is ever made involving the installation.
- File the CoC properly, with your property documents rather than buried in an email inbox. A future buyer’s solicitor may ask for it.
- Set your charging schedule. If you are on a plan with cheaper overnight or off-peak rates, configure the charger to use it. This is where the running-cost saving actually comes from, and it is easy to forget on day one.
- Charge it once while you are home and awake, so you see a full session complete before you rely on it overnight.
If you are still at the quoting stage, the fastest way to get an accurate price and an install day that runs to plan is to send a clear photo of your switchboard and your parking area with your enquiry.
Frequently asked questions
How long does it take to install a home EV charger in NZ?
Most straightforward single-phase installs take two to four hours. Jobs that need a switchboard upgrade, a long or buried cable run, or three-phase work commonly stretch to a full day or a second visit. The cable distance from your switchboard to the charger position is usually the biggest driver of time on site.
Will my power be turned off during an EV charger installation?
Usually for part of the job, not the whole visit. The electrician needs the switchboard isolated while they fit the new circuit breaker and RCD protection, which is typically 30 to 60 minutes. Ask your installer beforehand so you can shut down computers, plan around a home office, or move anything temperature-sensitive out of the fridge or freezer.
Do I need to be home for the EV charger installation?
Yes, at least at the start and the end. You need to let the electrician in, agree the exact mounting position and cable route before they drill anything, and be there at handover to receive the Certificate of Compliance and walk through the charger and its app. Some installers will work unattended in between if you have arranged access.
What happens if the electrician finds a problem during the installation?
The usual outcome is that they stop before energising anything, explain what has been found, and give you a written variation for the extra work before carrying it out. The most common cause is a switchboard with no spare capacity. A responsible installer will not leave a partly wired charger connected, and will not certify work that is not complete.
What should I receive when the EV charger installation is finished?
A Certificate of Compliance from the Registered Electrician, a working charger that has been tested with your vehicle or with test equipment, the charger's manual and warranty details, and the app set up and paired if it is a smart charger. Do not treat the job as complete until the Certificate of Compliance has been issued.
Can an EV charger be installed in one visit?
Most can. The common reasons for a second visit are a switchboard upgrade that was only discovered on site, a charger that has to be ordered in, or a supply change that needs your lines company involved. Sending your installer a switchboard photo before they quote is the single best way to avoid a surprise second visit.